Iot SSH On Android: Secure Access & Best Practices
Are you ready to unlock the full potential of your Internet of Things (IoT) devices right from your Android device? Mastering remote access via Secure Shell (SSH) is not just a convenience; it's becoming an essential skill for anyone looking to efficiently manage and secure their connected devices in today's increasingly digital world.
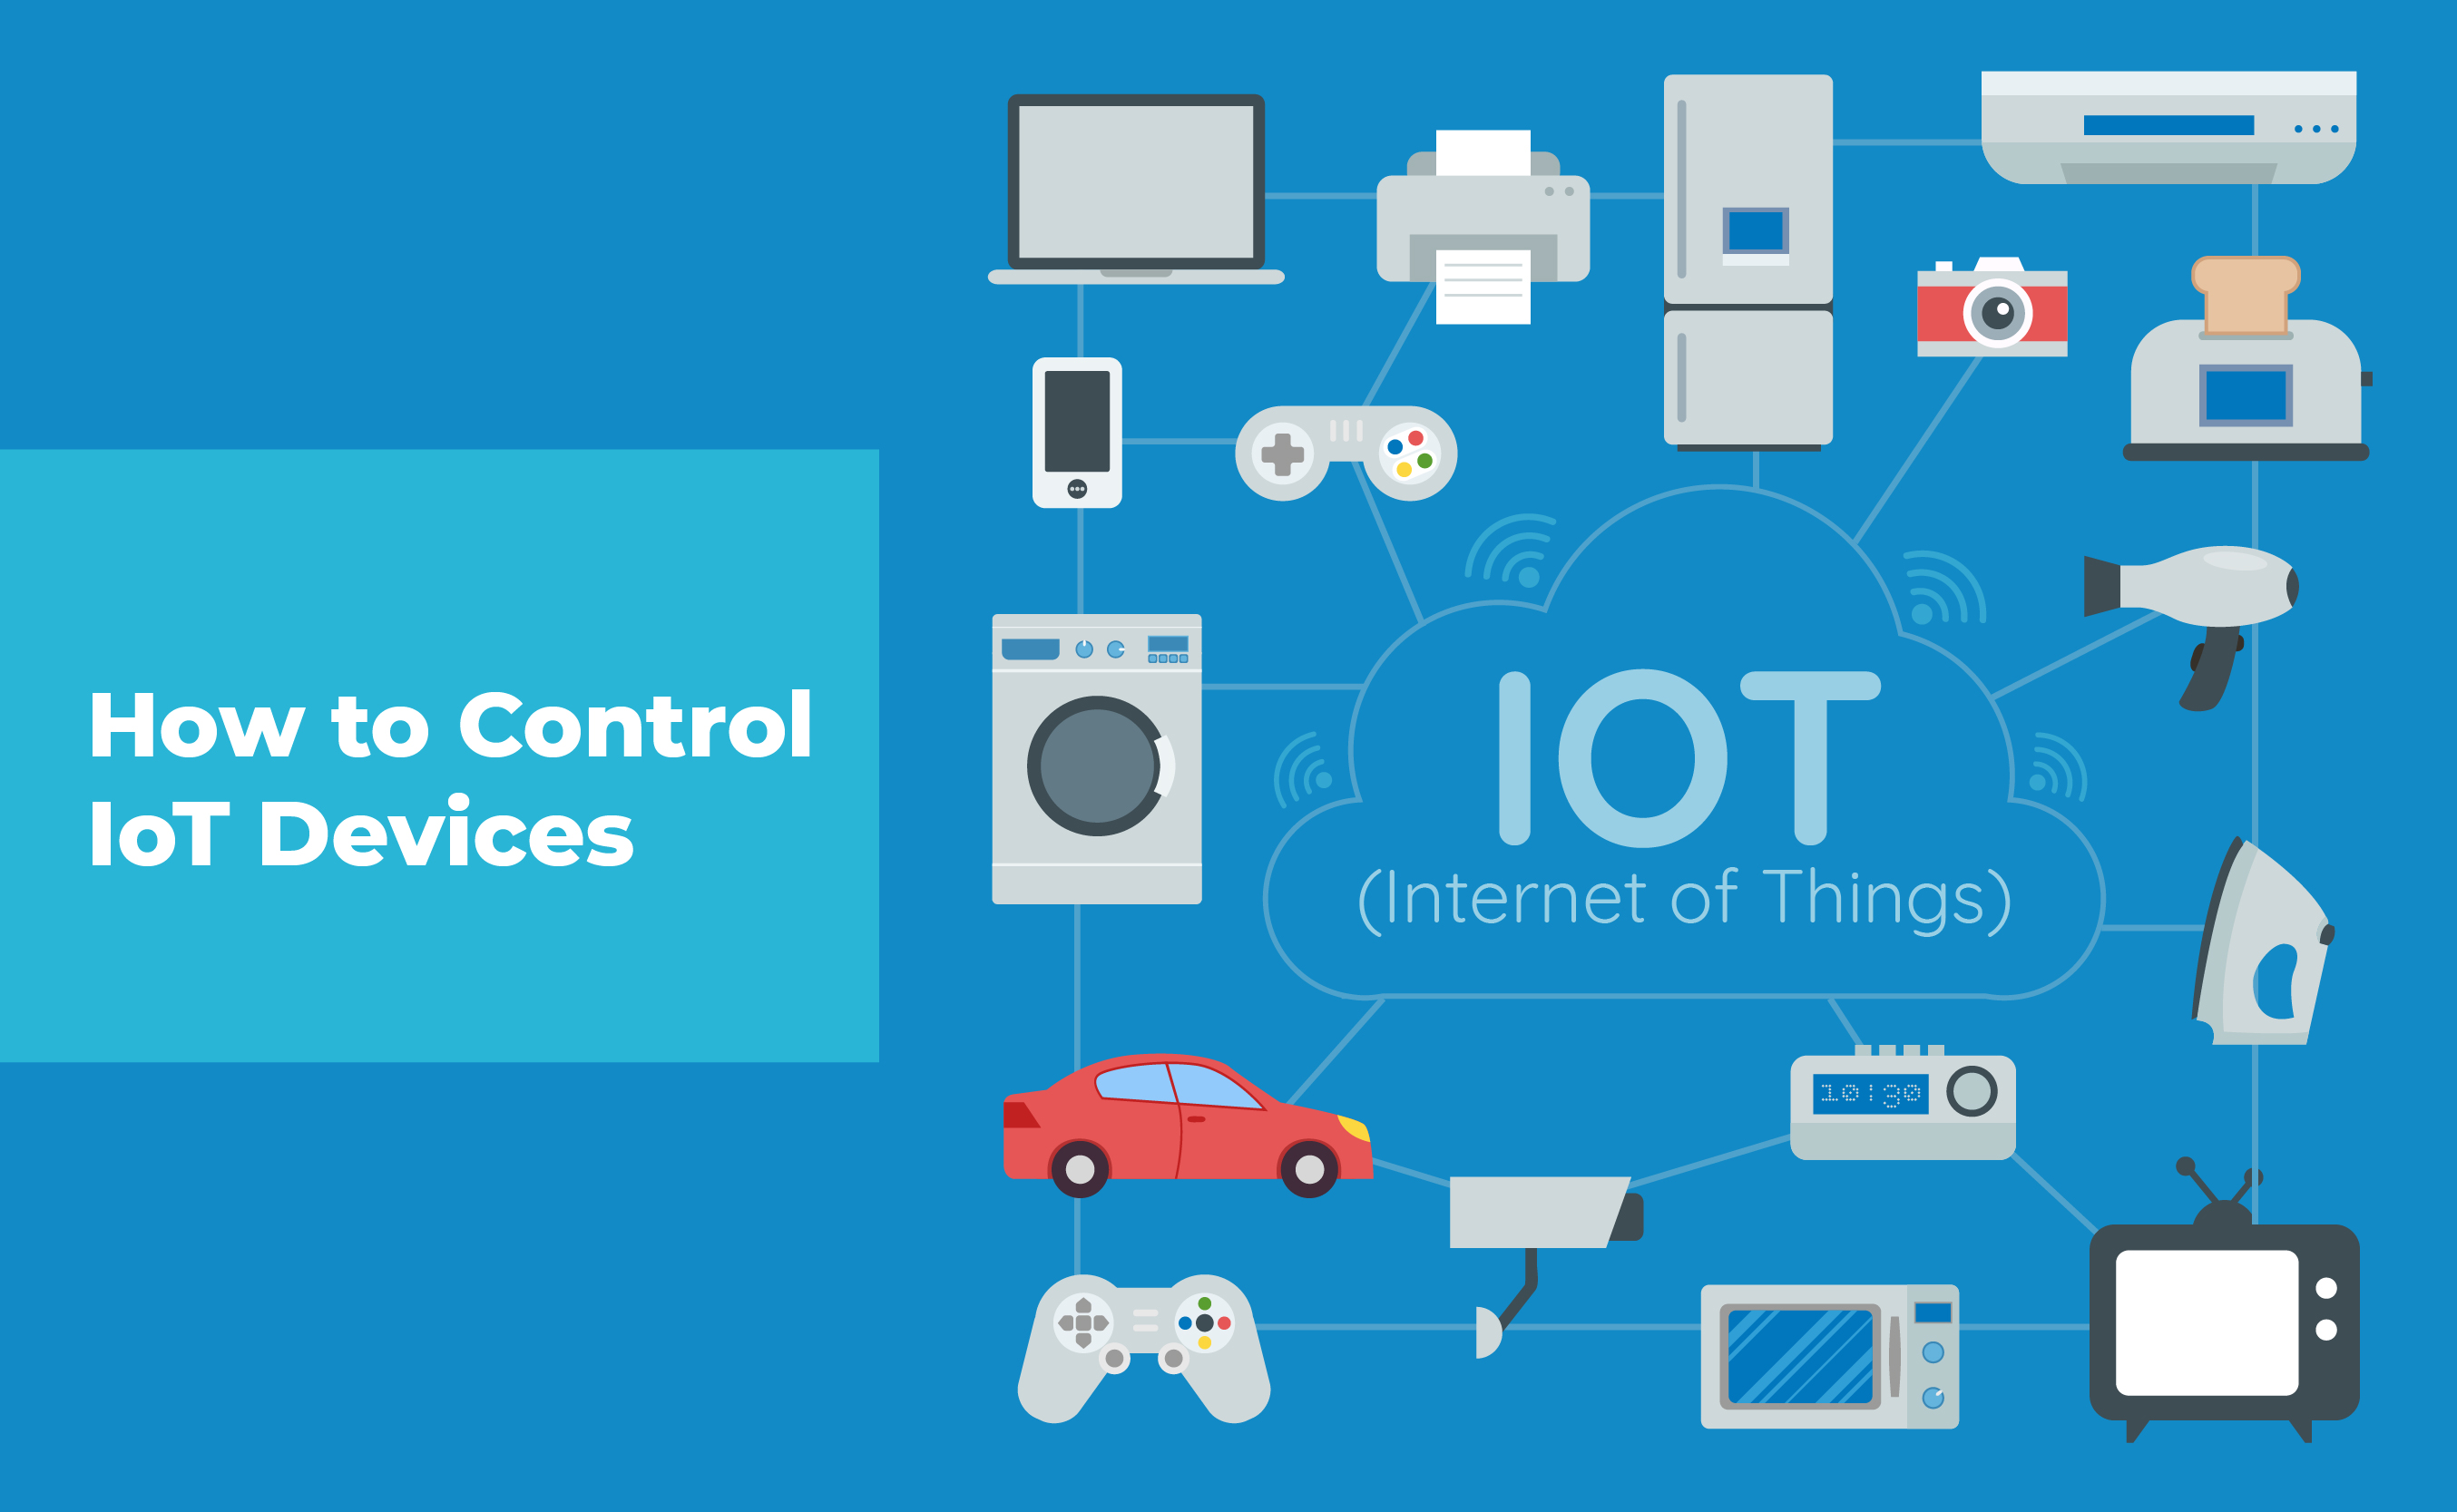
The proliferation of IoT devices has created a landscape where remote management is no longer a luxury, but a necessity. Whether you're a tech aficionado tweaking your smart home, a network administrator overseeing a fleet of devices, or simply someone who values control and security, understanding how to leverage SSH on Android can dramatically enhance your capabilities. This article delves deep into the tools, techniques, and best practices that empower you to remotely access and control your IoT devices with confidence.
Before we dive into the technical aspects, let's quickly define what SSH is and why it's so vital in the context of IoT device management. SSH, or Secure Shell, is a cryptographic network protocol that provides a secure channel over an unsecured network. In simpler terms, it's a way to securely connect to a remote device and execute commands, transfer files, and more. Its core strength lies in its encryption, ensuring that your data and commands are protected from eavesdropping and tampering. This security is critical when dealing with IoT devices, which often handle sensitive information or are connected to critical systems. Using SSH, you create an encrypted connection that protects your privacy.
Think of your smart home. You likely have various devices connected to your home network, from lights and thermostats to security cameras and entertainment systems. SSH allows you to remotely access and manage these devices securely. You could, for instance, troubleshoot a malfunctioning device, update its firmware, or even perform system maintenance, all from the comfort of your Android device, regardless of your physical location. The versatility of SSH extends far beyond the home environment; it's equally valuable in industrial settings, where IoT devices monitor and control critical processes, and in data centers, where servers and network equipment require constant monitoring and management.
The first step involves enabling SSH on your IoT device. This process varies depending on the specific device, but the general principle remains consistent. You'll typically need to access the device's configuration, which might involve connecting to it directly (e.g., via a serial port or a local network connection) or using a web interface provided by the device manufacturer. Once you're in the device's configuration, look for SSH settings. Enable SSH and, importantly, configure a strong username and password. Many IoT devices come with SSH disabled by default, and it's essential to enable it for remote access. Remember to always change the default credentials to something strong and unique; using default credentials is a major security risk. Strong credentials involve a combination of upper and lower case letters, numbers, and symbols.
Next, you'll need an Android device with an SSH client. Several excellent SSH client apps are available on the Google Play Store, each offering unique features and benefits. These apps act as a bridge, allowing you to connect to your IoT devices through SSH and issue commands or transfer files.
Configuring your Android device for SSH access is relatively straightforward. It usually involves the following steps:
- Installing an SSH Client: Download and install a reputable SSH client app from the Google Play Store. We will delve into some of the best options later in the article.
- Network Connectivity: Ensure your Android device has a stable internet connection, either via Wi-Fi or mobile data.
- Device Information: Obtain the IP address of your IoT device and its SSH login credentials (username and password).
- App Configuration: Open your SSH client app and add a new connection profile. Enter the IoT device's IP address, SSH port (usually 22), and the username and password.
- Connection: Save the profile and connect. You should be prompted to accept the device's SSH key (a security measure to verify the server's identity). Accept the key, and if the credentials are correct, you should be logged into your IoT device's command-line interface.
Once you're connected, you'll have a terminal interface where you can run commands on your IoT device. The commands you use will depend on the device and the tasks you want to perform. This could involve everything from viewing system logs to managing files and configuring network settings.
Top SSH Apps for Android
Choosing the right SSH client for your Android device can significantly impact your experience. Several top-tier applications excel in performance, security, and user-friendliness. Here are some of the best:
- JuiceSSH: Often considered the gold standard, JuiceSSH is known for its speed, reliability, and a clean, intuitive interface. It supports SSH key authentication, making it a secure choice for managing IoT devices. JuiceSSH also offers features like tabbed sessions, identity management, and the ability to create custom commands, increasing productivity.
- Termius: Termius is a sleek and powerful SSH client with a focus on modern design and cross-platform compatibility (available on Android, iOS, Windows, and macOS). Termius provides a polished user experience with features like port forwarding, key management, and a built-in terminal emulator. Its sync capabilities allow you to seamlessly manage your SSH connections across different devices.
- ConnectBot: ConnectBot is a popular open-source SSH client. It's simple, lightweight, and effective, making it a great choice for users who value ease of use. ConnectBot supports SSH, Telnet, and local shell connections and offers features like key management and copy-paste functionality.
- Putty for Android: While PuTTY is primarily a Windows client, a port is available on Android. It offers similar functionality to the Windows version and is a good choice if you're already familiar with PuTTY.
Best Practices for Secure SSH Access
While SSH itself provides strong encryption, several best practices can further enhance your security posture.
- Strong Passwords: Use strong, unique passwords for all your IoT devices and SSH accounts. Avoid using common words, dates, or easily guessable information. Consider using a password manager to generate and store secure passwords.
- SSH Key Authentication: Implement SSH key authentication instead of passwords whenever possible. This involves generating a public-private key pair, where the public key is placed on the IoT device and the private key is stored securely on your Android device. Key authentication is significantly more secure than password-based authentication.
- Regular Updates: Keep your SSH client apps and IoT device firmware updated. Software updates often include security patches that address vulnerabilities.
- Firewall Configuration: Configure your network firewall to restrict access to the SSH port (usually port 22) from unauthorized IP addresses. You can allow access only from your Android device's IP address or a specific range of addresses if you have a static IP.
- Two-Factor Authentication (2FA): If your IoT device supports it, enable two-factor authentication (2FA) for SSH access. This adds an extra layer of security, requiring a verification code from your phone or another device in addition to your password or key.
- Monitor SSH Logs: Regularly review your SSH logs on your IoT devices for suspicious activity, such as failed login attempts or unusual commands. This will help you identify potential security breaches.
- Disable Unnecessary Services: Disable any services on your IoT devices that you don't need. The fewer services running, the smaller the attack surface.
- Limit User Access: Create separate user accounts on your IoT devices with limited privileges. Avoid using the root account (or an equivalent administrator account) for daily tasks.
- Network Segmentation: If you have a complex network, consider segmenting your network to isolate your IoT devices. This limits the impact of a potential security breach.
Advanced Tips for Managing IoT Devices via SSH
Once you've mastered the basics of SSH access on Android, you can explore more advanced techniques to streamline your workflow and enhance your control.
- SSH Key Management: Learn to generate, manage, and store SSH keys securely. Consider using an SSH agent to manage your keys, which simplifies authentication.
- Scripting and Automation: Use scripting languages like Bash or Python to automate repetitive tasks. You can create scripts to monitor device status, update firmware, or perform other routine maintenance tasks. Many SSH clients support scripting directly or integrate with external scripting tools.
- Port Forwarding: Use SSH port forwarding to securely access services running on your IoT devices that are not directly exposed to the internet. This allows you to access web interfaces, databases, or other applications securely.
- Reverse SSH Tunneling: Reverse SSH tunneling can be helpful when your IoT device is behind a firewall or NAT and can't be directly accessed from your Android device. This involves setting up an SSH tunnel from your IoT device to a server you control, allowing you to connect to the device through the tunnel.
- Monitoring Tools: Implement monitoring tools to track the performance and health of your IoT devices. Tools like `top`, `htop`, or `iotop` can provide real-time insights into CPU usage, memory usage, and disk I/O.
- File Transfer (SFTP/SCP): Learn to use SFTP (SSH File Transfer Protocol) or SCP (Secure Copy) to securely transfer files to and from your IoT devices.
- Network Troubleshooting: Familiarize yourself with network troubleshooting commands, such as `ping`, `traceroute`, and `netstat`, to diagnose connectivity issues.
- Automate Configuration: Consider using configuration management tools like Ansible or Chef to automate the configuration and management of your IoT devices.
The benefits of using SSH on Android for IoT management are clear. You gain secure remote access, simplifying device management and troubleshooting. Efficiency increases as you can control your devices from anywhere. With SSH, you can protect your privacy, by encrypting the communication between your Android device and your IoT devices. Understanding and implementing SSH best practices for your IoT devices on Android provides control and protection.
Is Remote SSH Access Right for You?
This comprehensive guide has walked through the essentials of SSH remote access for your IoT devices on Android, covering everything from the basics of SSH and selecting the right client to setting up secure connections and implementing advanced management techniques. But is this the right solution for you?
If you frequently need to manage your IoT devices remotely, if you value secure access and data encryption, if you want the flexibility to troubleshoot and configure your devices from anywhere in the world, then yes. SSH on Android is a powerful tool that can transform how you interact with your connected devices.
However, consider your technical skills and requirements. SSH requires some technical knowledge, including an understanding of networking concepts and command-line interfaces. If you prefer a simpler approach, you might consider alternative remote access methods that offer a more user-friendly interface, though they may not provide the same level of security or control. Also, keep in mind the security implications; while SSH is secure, misconfiguration or poor security practices can create vulnerabilities. Always prioritize security best practices.
Finally, consider the devices themselves. Not all IoT devices support SSH. Before investing time and effort in setting up SSH access, verify that your devices offer SSH connectivity. Many modern IoT devices, particularly those designed for more advanced users or professional applications, will include SSH support as a standard feature.
In the ever-evolving landscape of connected devices, mastering remote SSH access on your Android device is a valuable skill. By following the principles outlined in this guide, you can enhance your control, boost your productivity, and, most importantly, safeguard your devices and your data. So, grab your Android device, install a reliable SSH client, and begin your journey into the world of secure, remote IoT device management. It's a journey that will empower you to take control of your connected world.
Whether you are a tech enthusiast, network administrator or simply looking to manage smart devices remotely, understanding the best IoT device SSH access Android options can enhance your productivity and control over your connected world.
The integration of IoT devices into our lives has become seamless. The demand for managing these devices efficiently and securely is also growing. With SSH, or Secure Shell, a protocol that allows encrypted communication, Android users can take control of their IoT devices. It is no longer a luxury, but a necessity. It not only enhances operational efficiency, but also helps you to manage your smart home ecosystem.


Detail Author:
- Name : Dr. Catalina Reichert
- Email : lavada42@rogahn.net
- Birthdate : 2005-06-20
- Address : 393 Lind Squares Reichertfurt, OR 69076-1431
- Phone : +1-219-550-6407
- Company : Kuhn and Sons
- Job : Glazier
- Bio : Doloribus cupiditate numquam aliquid. Impedit molestias dignissimos ad rem eaque cumque aliquid. Quae ab qui nisi numquam omnis sint. Mollitia omnis ipsam qui numquam veritatis illo optio.

 devices right from your Android device? Mastering remote access via Secure Shell (SS)